Mutable Instruments Anushri

The Anushri is a DIY monosynth styled around the legendary Roland SH-101 synthesizer. It includes a built-in sequencer, simple drum machine circuit, and was quite a fun straight-forward project to build.
Build Resources
Difficulty: Medium (Lots of components and parts to keep track of, lots of solder points to fill, but the build instructions are easy to follow and the actual electronics work is quite rudimentary)
Project Log
I first stumbled upon Mutable Instruments in 2011. It’s very likely I came across Mutable’s website while searching for more information about their flagship Shruthi digital/analog hybrid monosynth (a project which I later built a couple of), but after browsing all of the DIY synthesizer projects they offered at the time, the Mutable Instruments Anushri intrigued me the most.
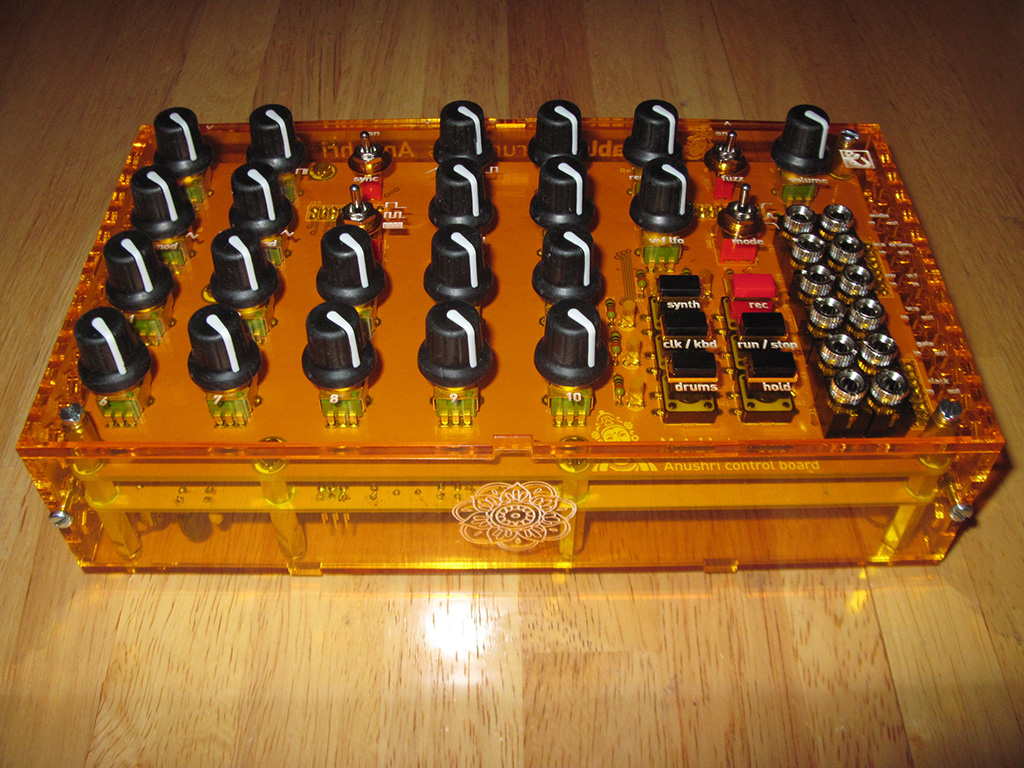
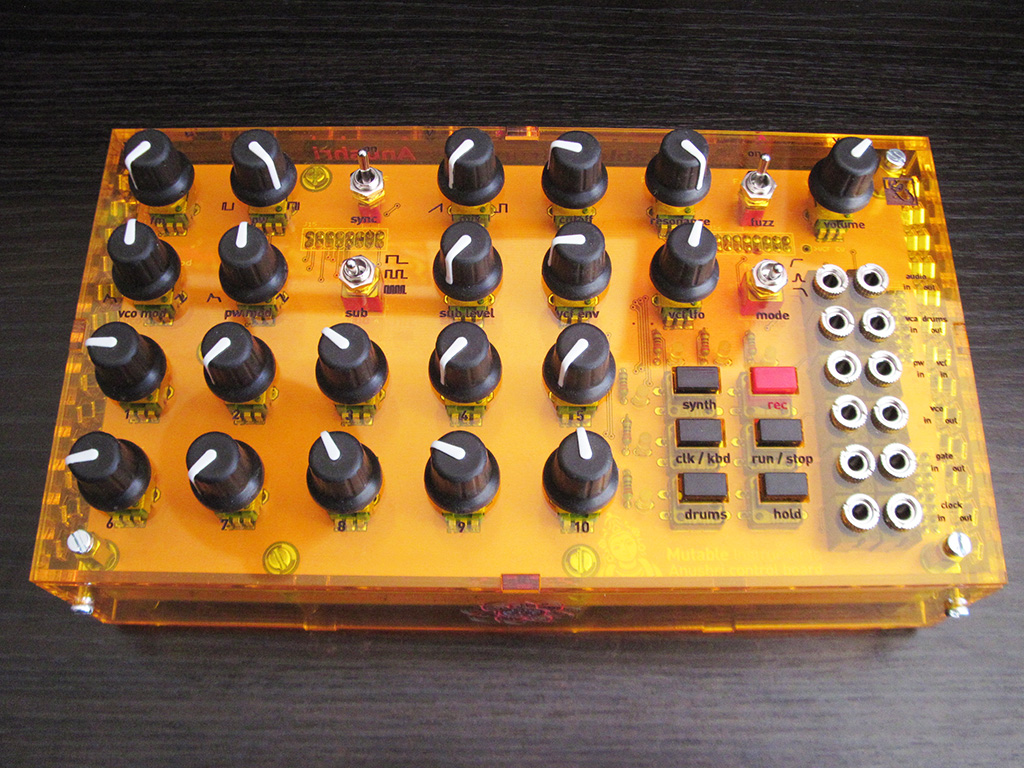
The synth’s bright orange plexiglass case was certainly the first detail caught my attention, but after reading on to see what it was all about, the concept behind the instrument sold almost immediately on why I should make the Anushri my first foray into the world of soldering and DIY electronics. The Anushri was almost my first semi-modular synthesizer, opening me up to the possibility of a studio beyond MIDI, interfacing voltages and CV signals into the unit to create less traditional, more exotic (and chaotic) kinds of sounds.
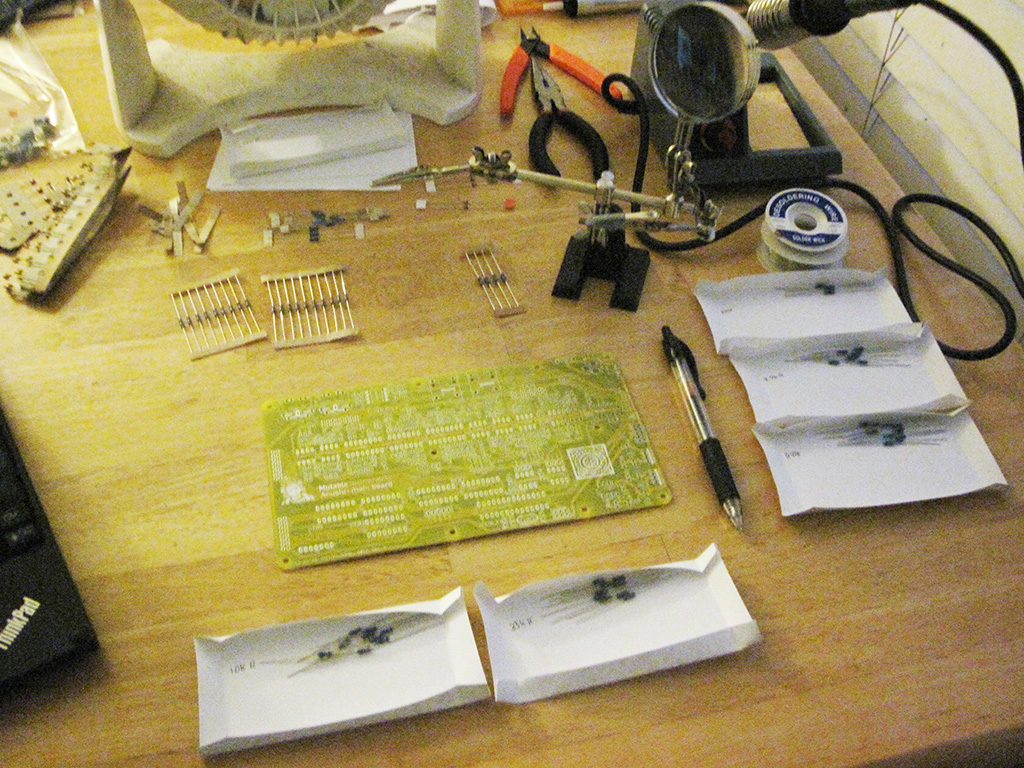
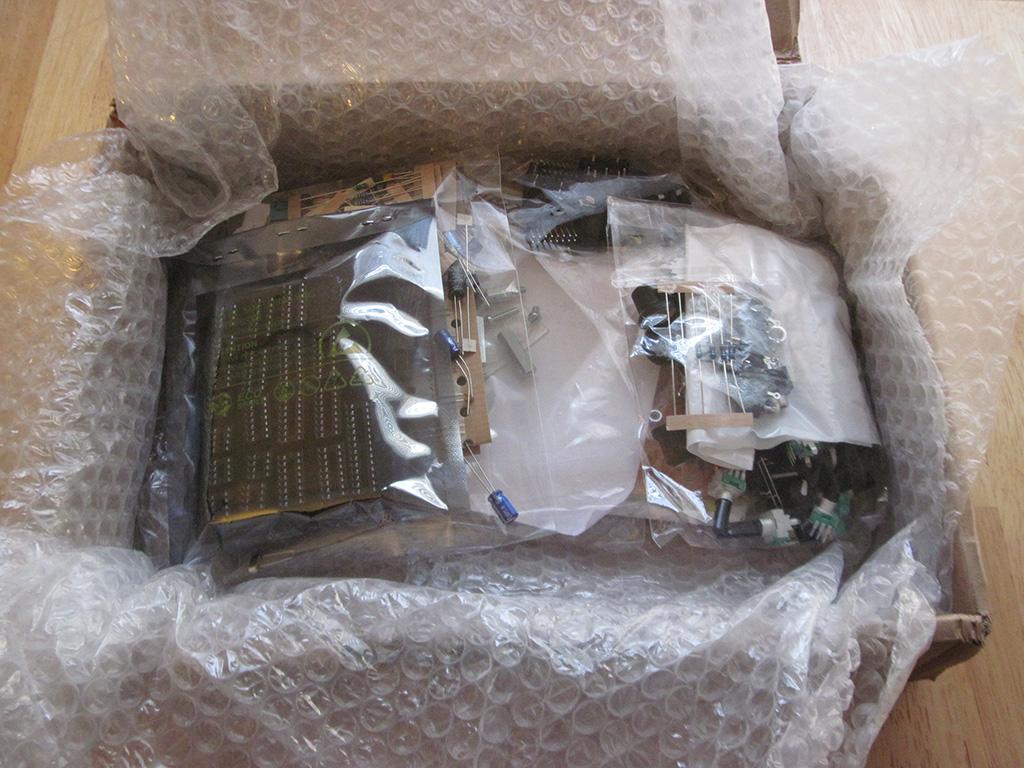
Buying and building the Anushri was very straightforward. Although it was a bit intimidating for my first DIY project (bags upon bags of parts, 400+ solder points, 20 ICs to socket, etc) the build guide from Mutable Instruments was pristine and I could buy every part, from the PCBs, case, and all of the necessary components, from the MI website. The kit even came with a little French lemon sweet (the “victory candy”) to celebrate a long successful build with.
Though it would take some time to build (I believe I clocked in at around 6 hours, taking my time at every step of the process), the Anushri appealed to me as it was a pseudo clone of the legendary Roland SH-101 with a few extra tricks up its sleeve. The SH-101 was a highly sought after but realistically unobtainable synth for someone on a budget like me, second-hand prices would fetch up to $2,000 for something that retailed at $400 back in 1984.
Most people had eventually taken to modifying their SH-101 with extra input jacks, additional LFO circuits, fuzz overdrive circuits to beef up the VCO, and other enhancements. The Anushri offered a lot of those improvements by design, as well as a built-in lo-fi drum machine with a unique pattern generator. No costly hacks to a vintage instrument necessary, though if you wanted to, the Anushri’s open-source nature allowed you to modify the synth to your heart’s content!
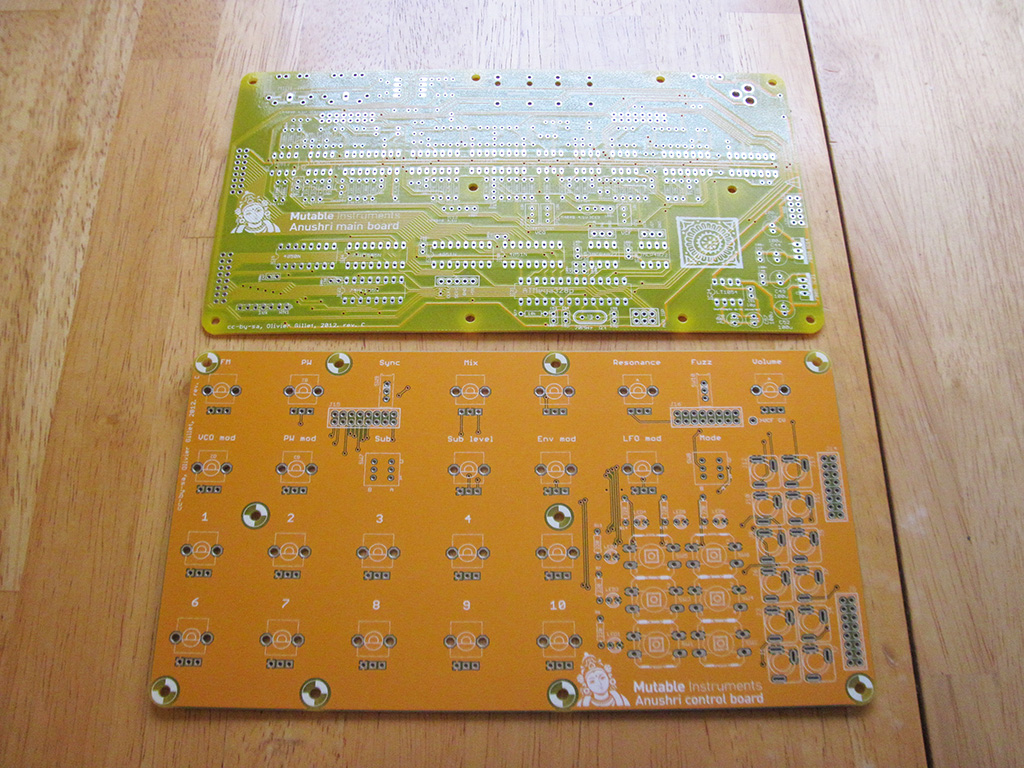

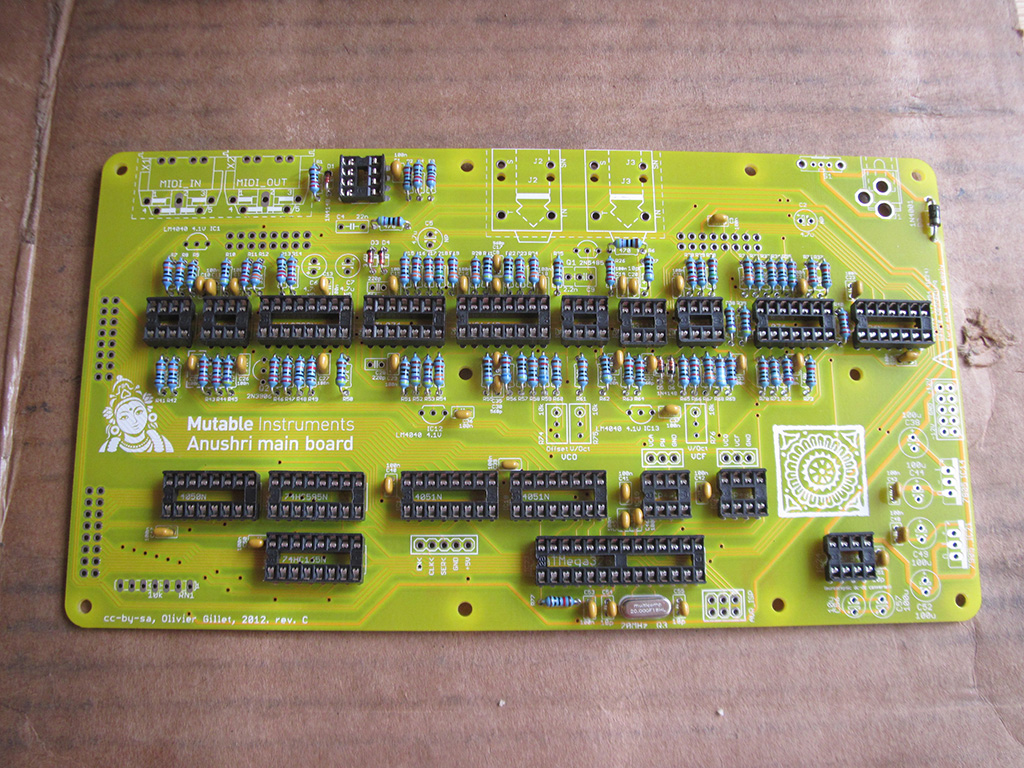
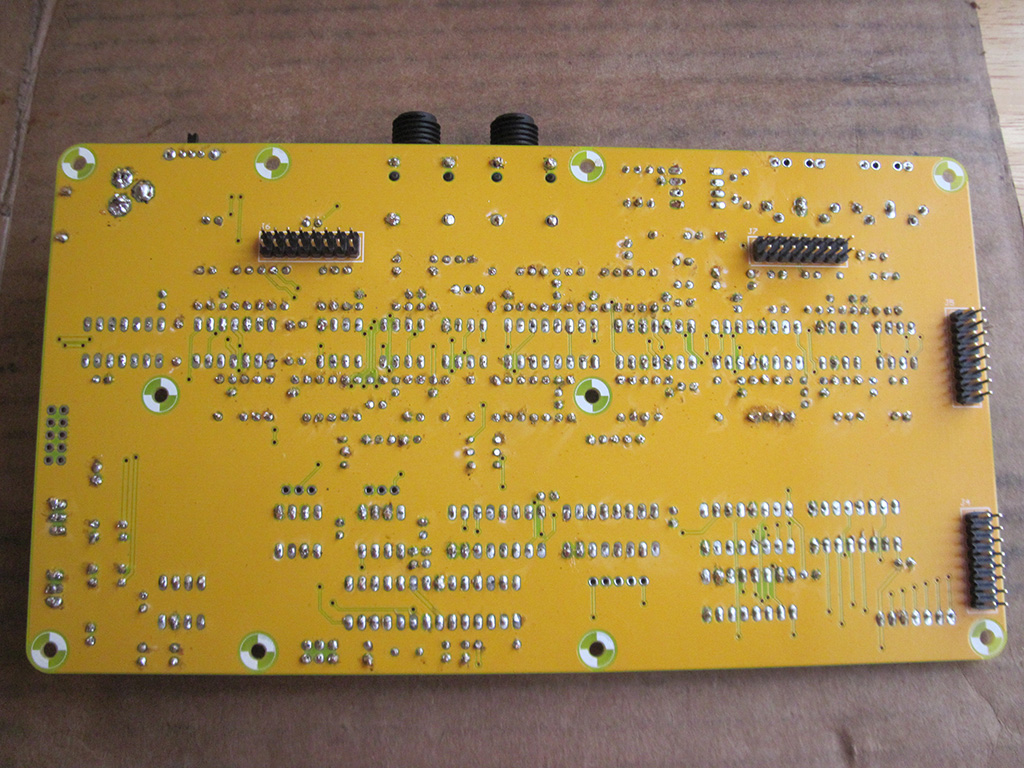
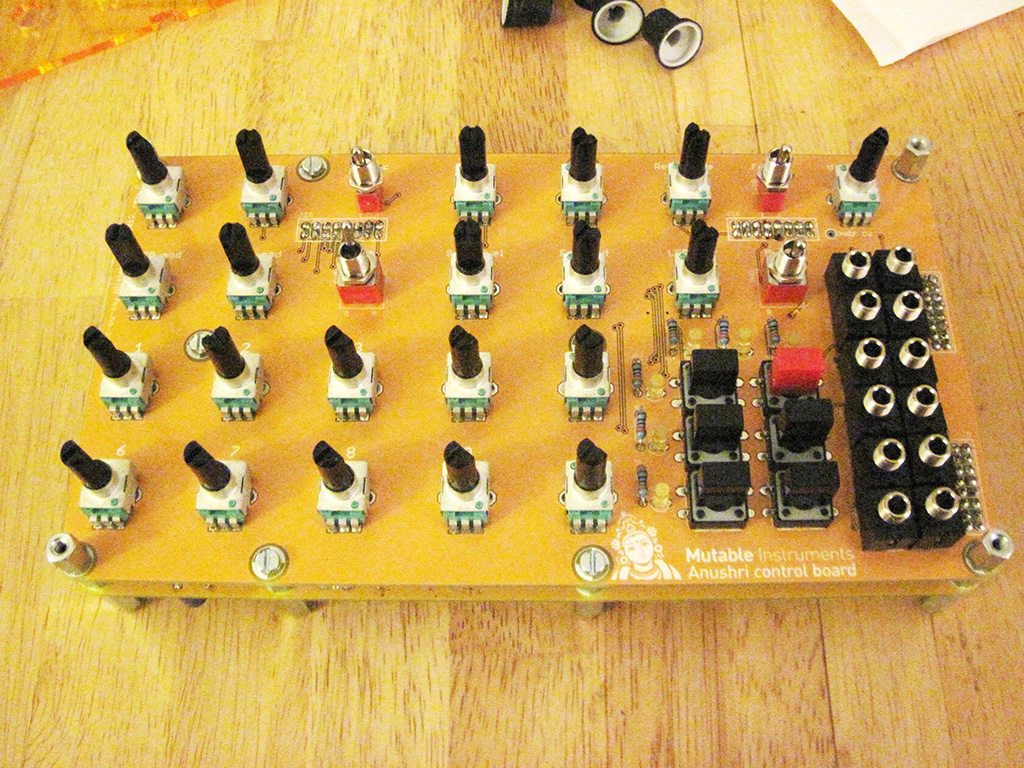
As I mentioned before, the build was incredibly straightforward. The simplicity of the design speaks to just how basic of a synthesizer the Roland SH-101 was. This is not a knock though, it’s the simplicity of that synth which has made it an endearing part of electronic music, and given this simple nature, the Anushri’s main board is laid out in a way that really helps one understand (or at least helps them picture) how each circuit in the architecture contributes its little piece to the overall functionality and sound of the final product.

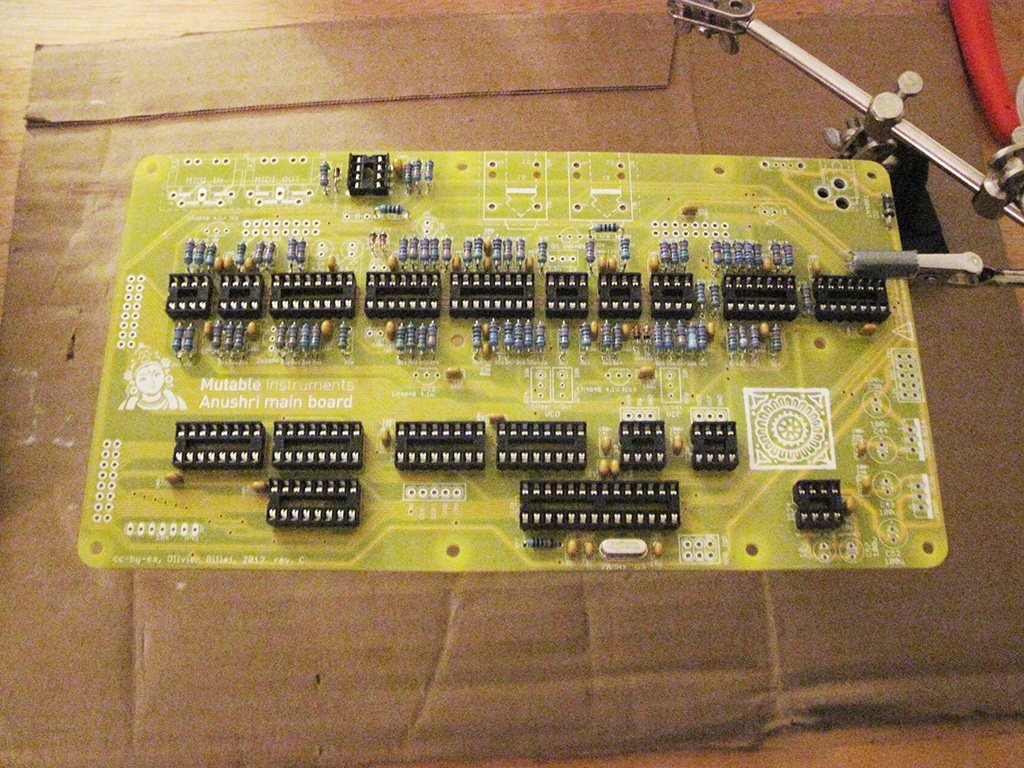
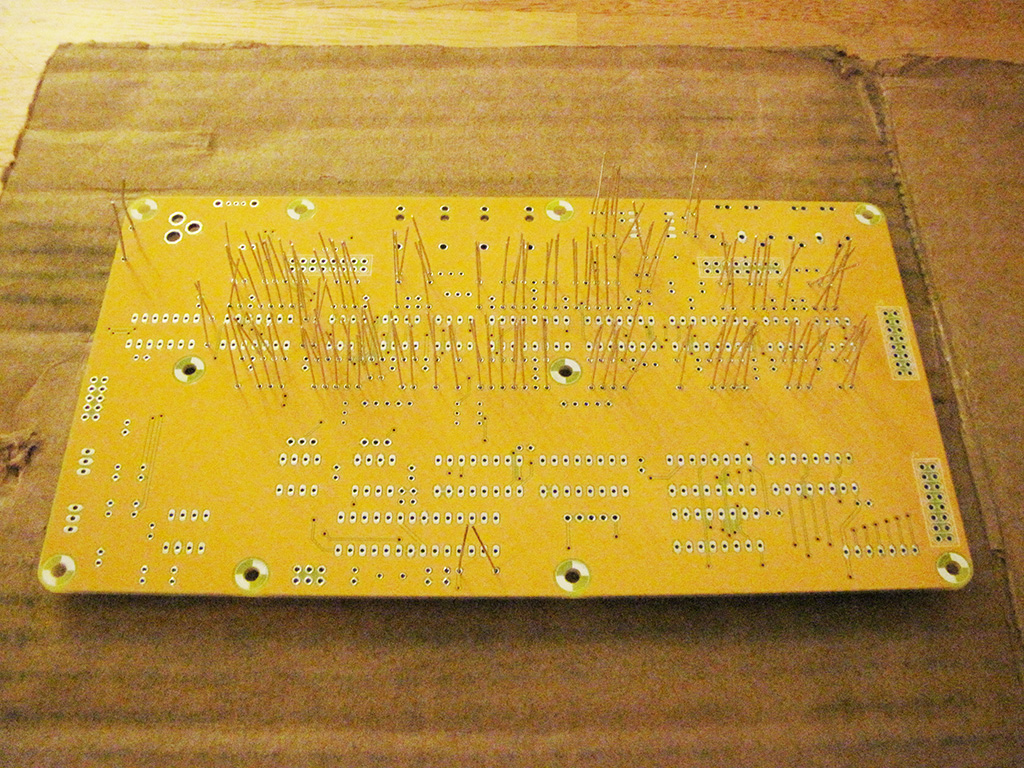
Being a true beginner to soldering synthesizers (I’d taken on some smaller electronics projects in the past), I learned a lot of practical lessons as I worked step by step on the build. If you look really closely you’ll notice most of the resistors float just above the surface of the PCB. Since I was new to fitting through-hole components onto a circuit board I tried not to force parts too hard into a seated position (so as to not damage anything). I also decided to snip the legs of the components before soldering them into place (for reasons I cannot quite remember.
Later on, I realized bending the components legs appropriately helped get them to sit more easily on the PCB, and in most cases, applying a little extra pressure will properly snap a piece into place.
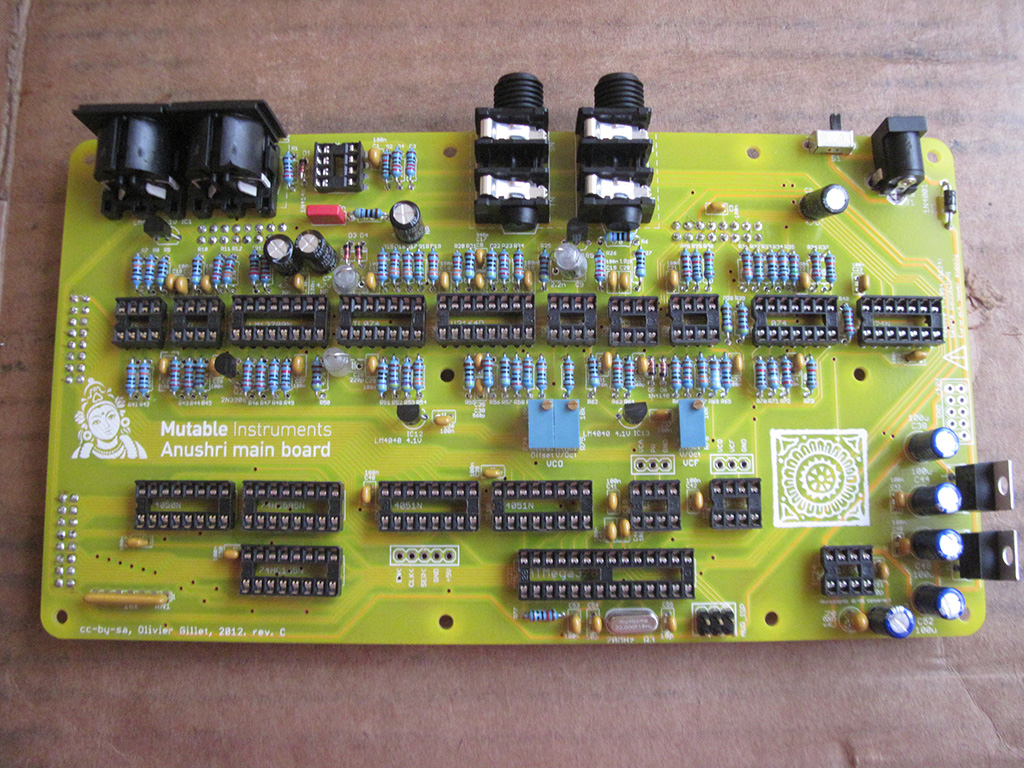
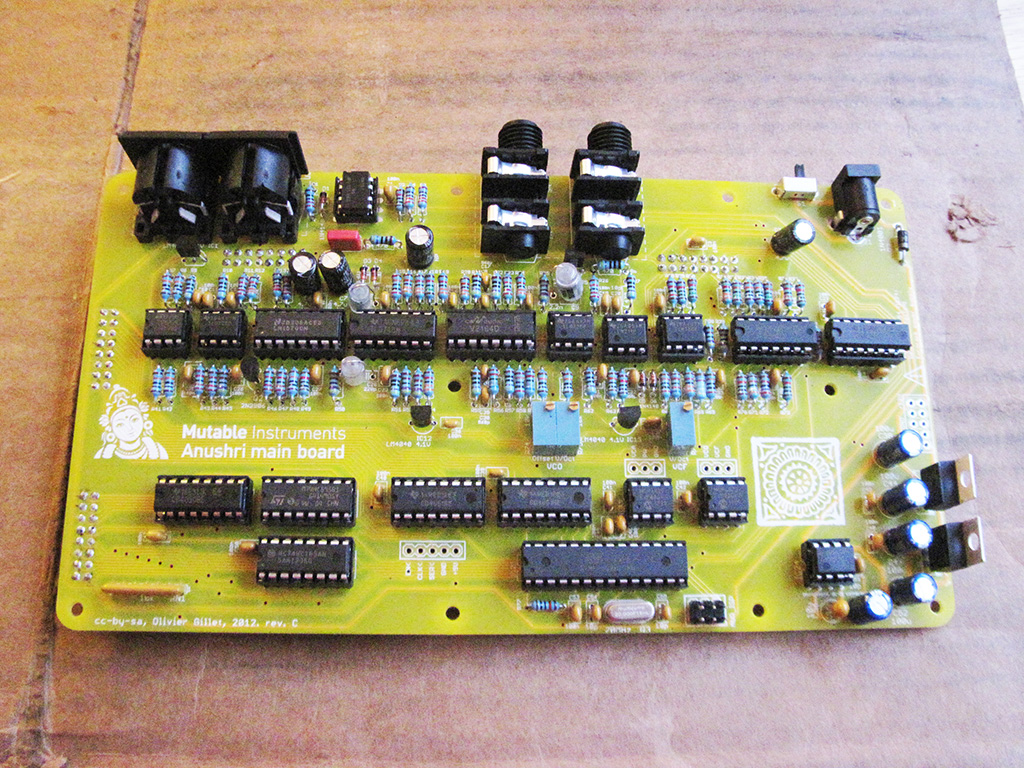
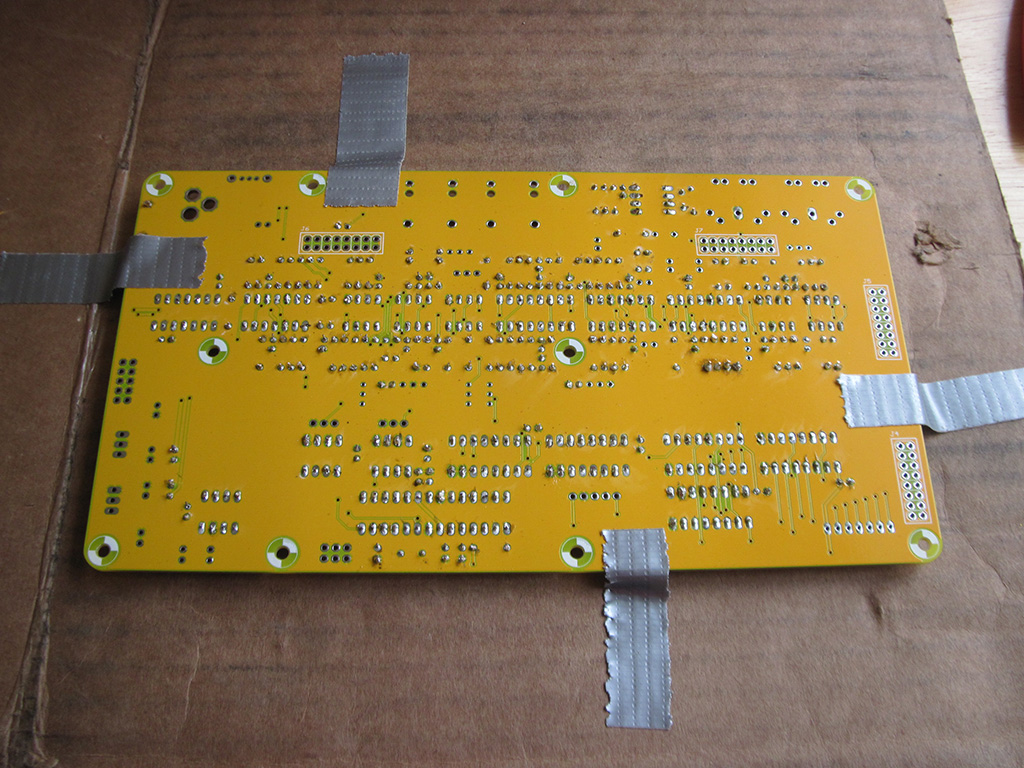
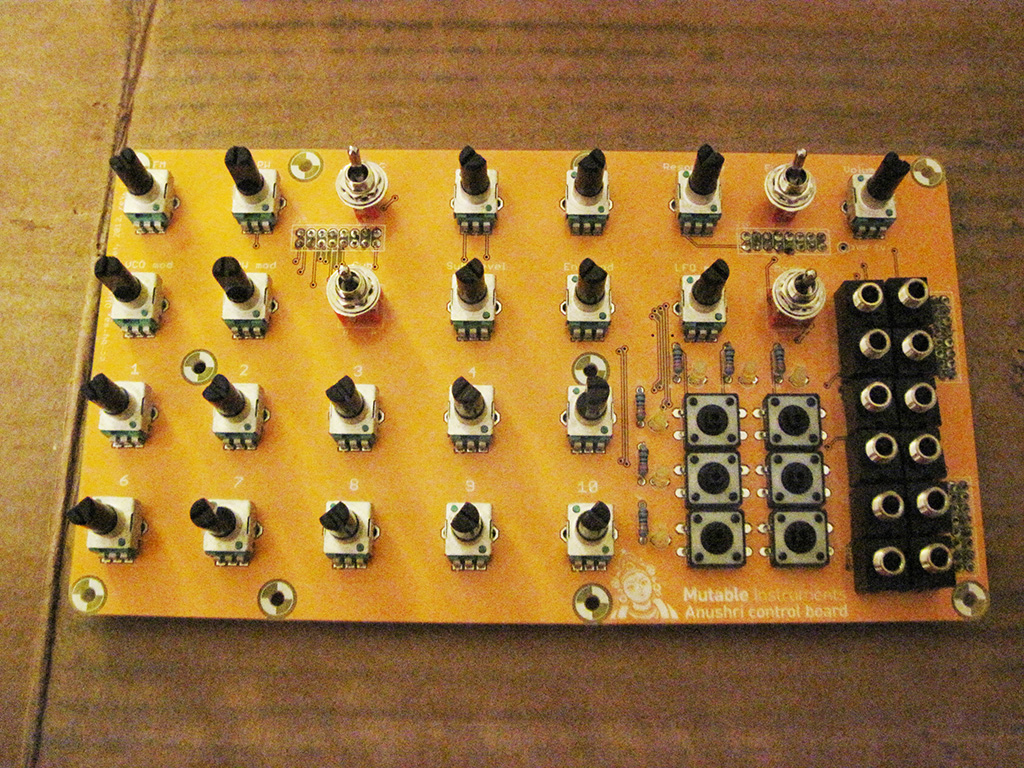
There isn’t much specific advice I have to share for building the main board given how well documented the build instructions are. Obviously I would say double checking which components you’re placing is paramount, but since this was the single greatest fear I had during my build (besides possibly burning myself with the soldering iron) I made sure to measure each component to confirm the value and where it should go. There was much less trepidation when assembling the control board which, besides soldering all of the IC sockets into place, turned out to be my favorite part of the build process.
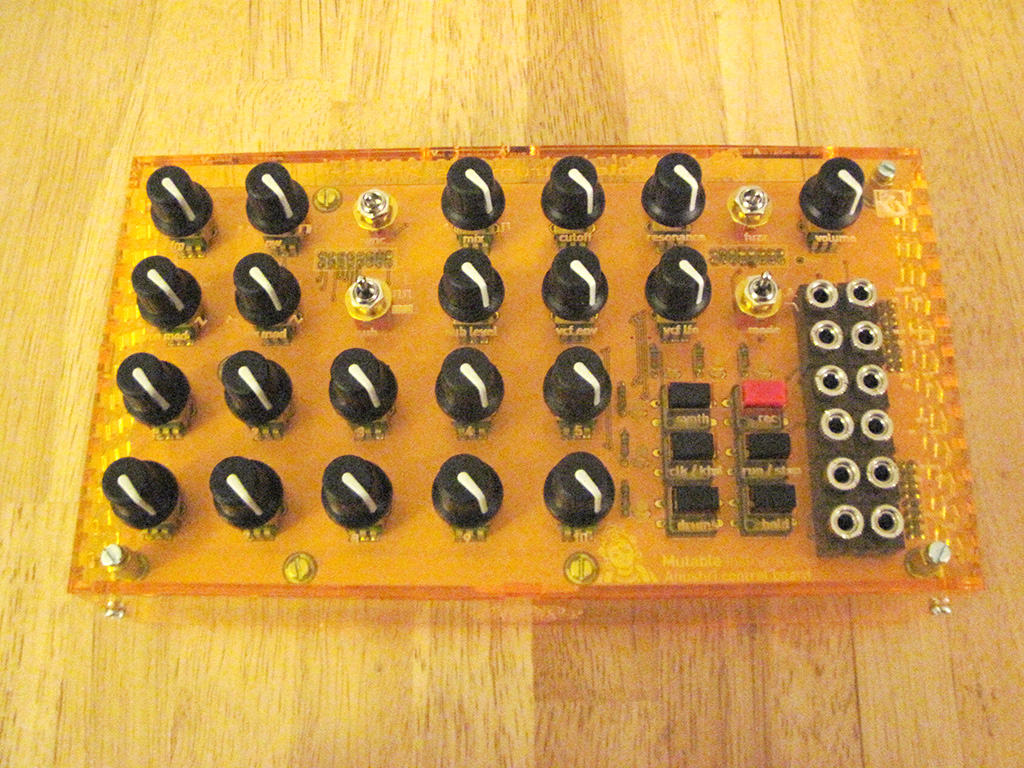
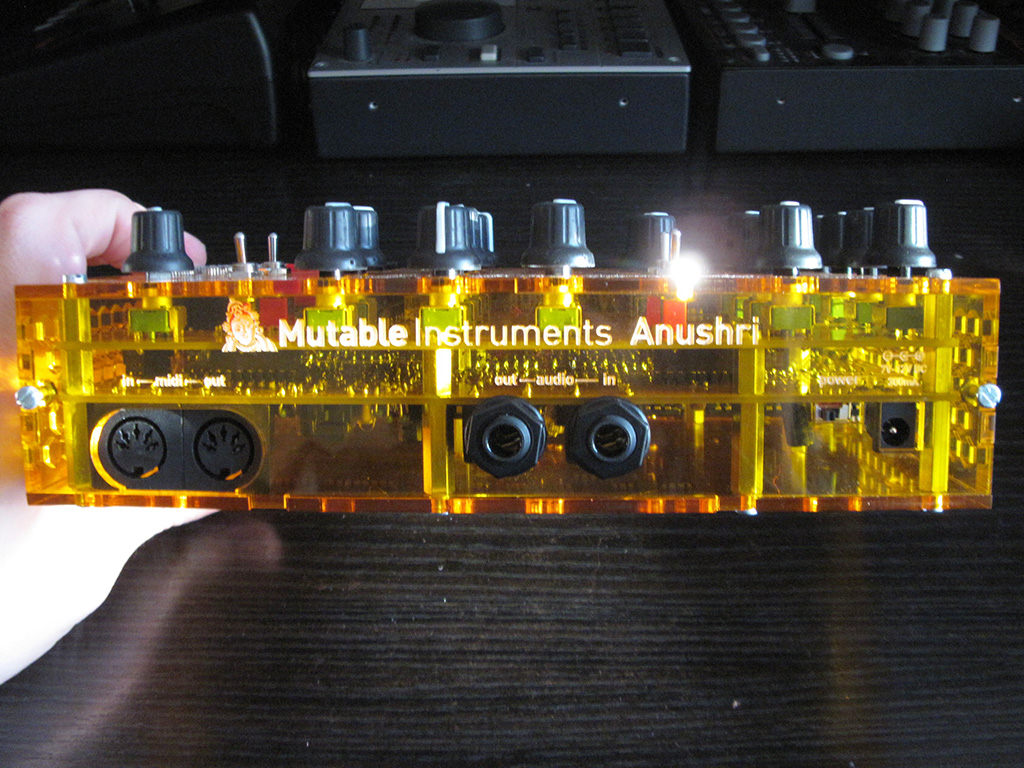
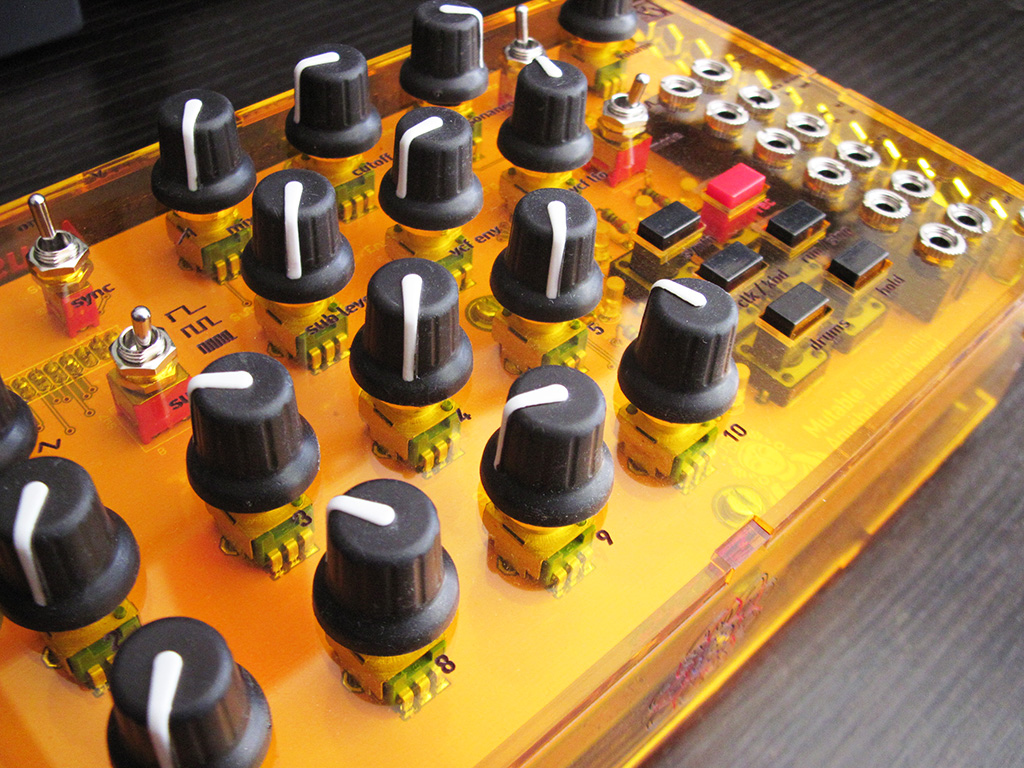
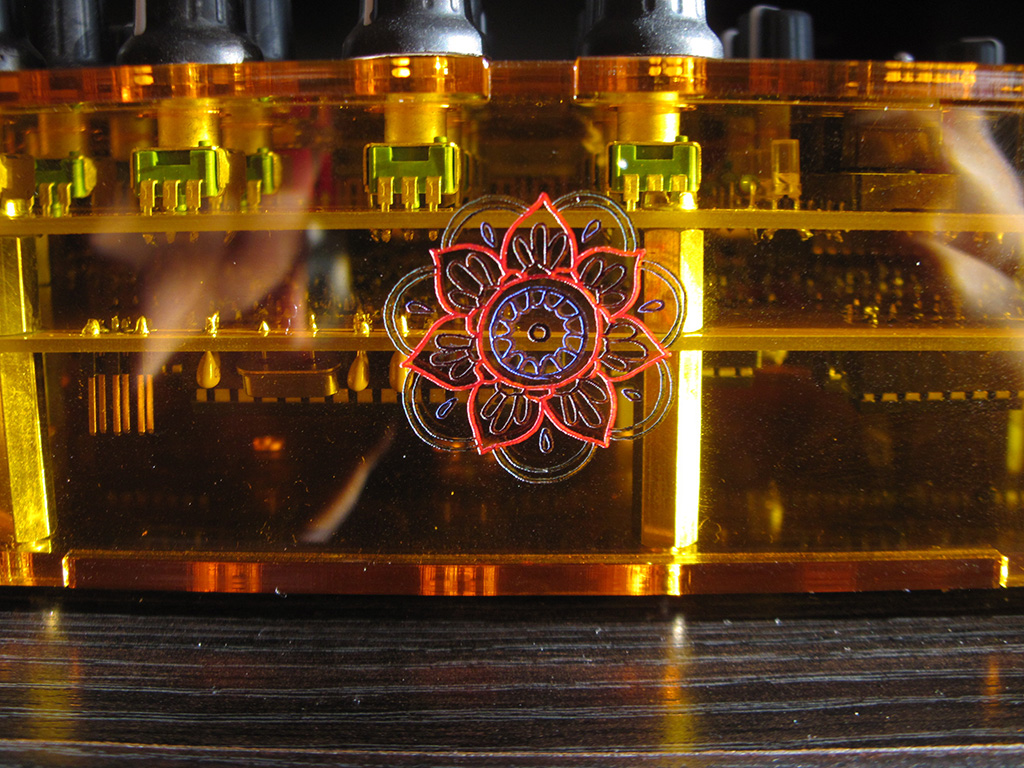
Once everything is soldered together and the main board and control board are sandwiched together, the last thing there is left to do is to assemble the plexiglass case around the unit and plop on all the knobs and jack nuts. There’s something extremely psychedelic and fun about the orange plexi used to house this remarkable monosynth.
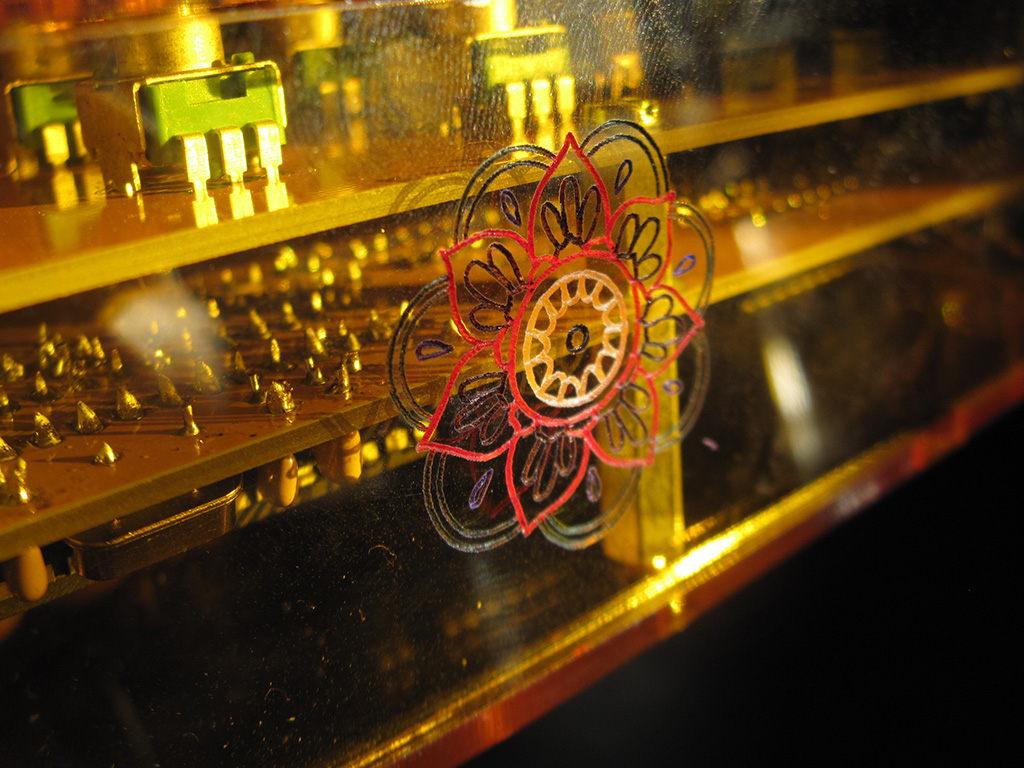
I took liberties with my case and traced some colorful designs into the geometric inlays etched into the case. This was accomplished with a handful of fine-tipped Sharpie markers in blue, red, green, and black, which blended into the plexiglass rather well. Coloring in the labels for each knob also helped them stand out for easier viewing. I’m sure a steadier hand could use miniature paint and a fine paint brush to accomplish the same effect.
Once built, there is a very quick tuning and calibration procedure one should undertake with a multimeter, but besides twiddling a few adjustment screws on the main board, the Anushri is ready to rock out! There was just one part from the kit left to place, the lemony sweet victory candy into my mouth.
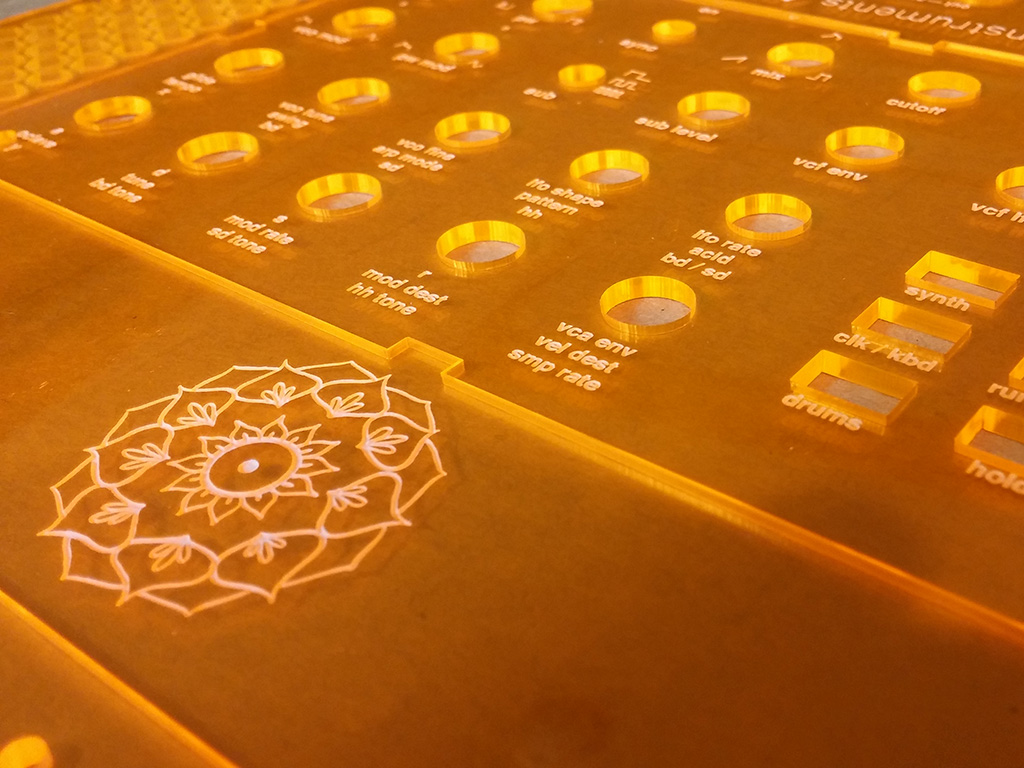
The synth itself is a great sounding instrument. I was glad to see it converted to the Eurorack format many years later by Mutable Instruments. If I had one gripe, beyond some of the fiddlyness of the sequencer, it would be the layout of the top panel. The design makes sense, but given there are 3 modes to the instrument (synth, drums, and sequencer) it would have been nice for the front panel to detail what each knob did in each mode.
I decided to solve this problem myself a few years after building the project. The Anushri case design, as well as every other aspect of the project, is free and open-source. A user on the Mutable Instruments forum had created their own version of the Anushri front panel which included the extra function labels I desired. Though I still felt their design lacked something.
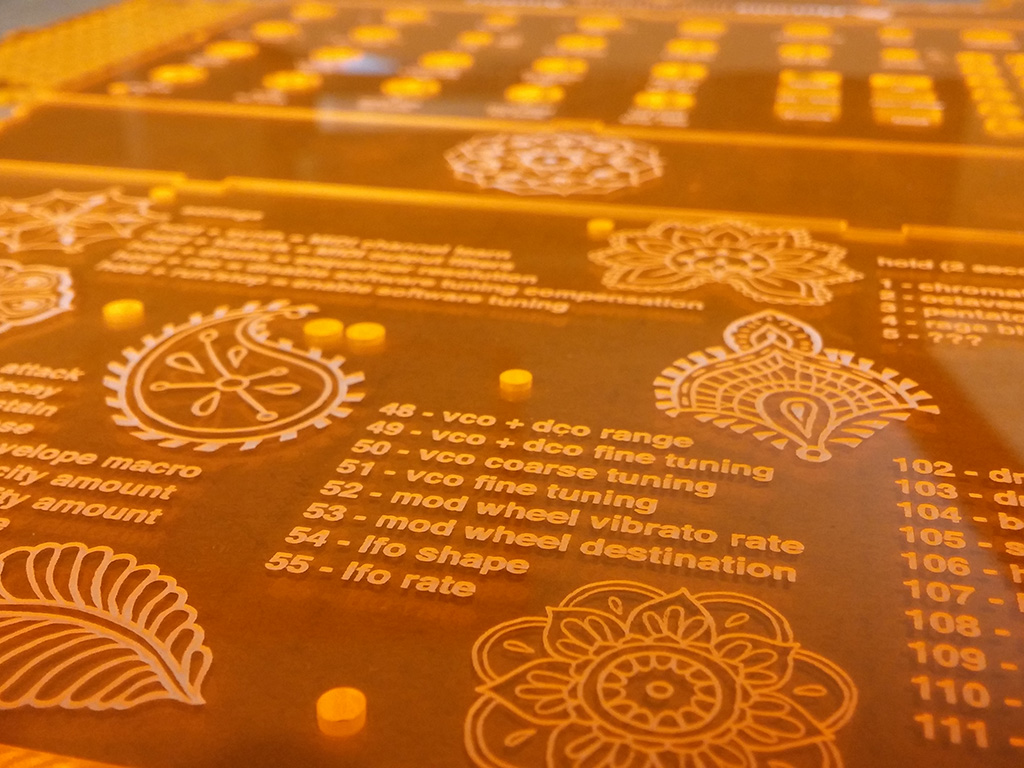
I decided to create my own version of the case, including a full MIDI implementation chart (CC values) on the bottom, as well as a smattering of wingding designs which were created as part of the original Mutable Instruments branding but never necessarily saw its way into any official projects. I like the aesthetic a lot and wanted to cram as many on the case as possible.
Sounds
Here are a handful of sound demos I had recorded immediately after completing the synth build. These demos are 100% dry signal, recorded straight from the mono output of the Anushri and into my recording interface. I was still exploring the limits of what the Anushri was capable of, so forgive any crackles or pops in the audio. This machine is definitely techno in a box!